

Showing posts with label Pastel. Show all posts
Showing posts with label Pastel. Show all posts
Saturday, May 3, 2014
Girly Nautical Nails!
What's up beautiful people? Today I have some super cool nails inspired by the wonderful Karissa from @LifeIsBetterPolished on Instagram! I recently saw her do some really pretty nautical themed nails and I knew I had to recreate them. I haven't done anything like this before and I really love it!

Sunday, April 6, 2014
Pastel Galaxy Nails
It's the second to last day of my Spring Break and I feel like I want to cry! I've gotten so used to relaxing all day, I don't want to go back to having responsibilities. Haha but the good news is that I have new nails for you! Today I have some pastel galaxy nails that I love! I've tried traditional galaxy nails twice before but I wanted to add a twist to these. These pastel colors make this design perfect for Spring!

Thursday, March 27, 2014
Spring Polish Picks!
Happy Spring! Since the first day of Spring was a few days ago, I thought it was time to share my Spring Polish Picks with you all! Spring is one of my favorite times of the year because of the nice weather and pastel polishes ♥ Keep reading to find out what my favorite nail polishes are for this season!

Wednesday, March 19, 2014
OPI Jelly Sandwich
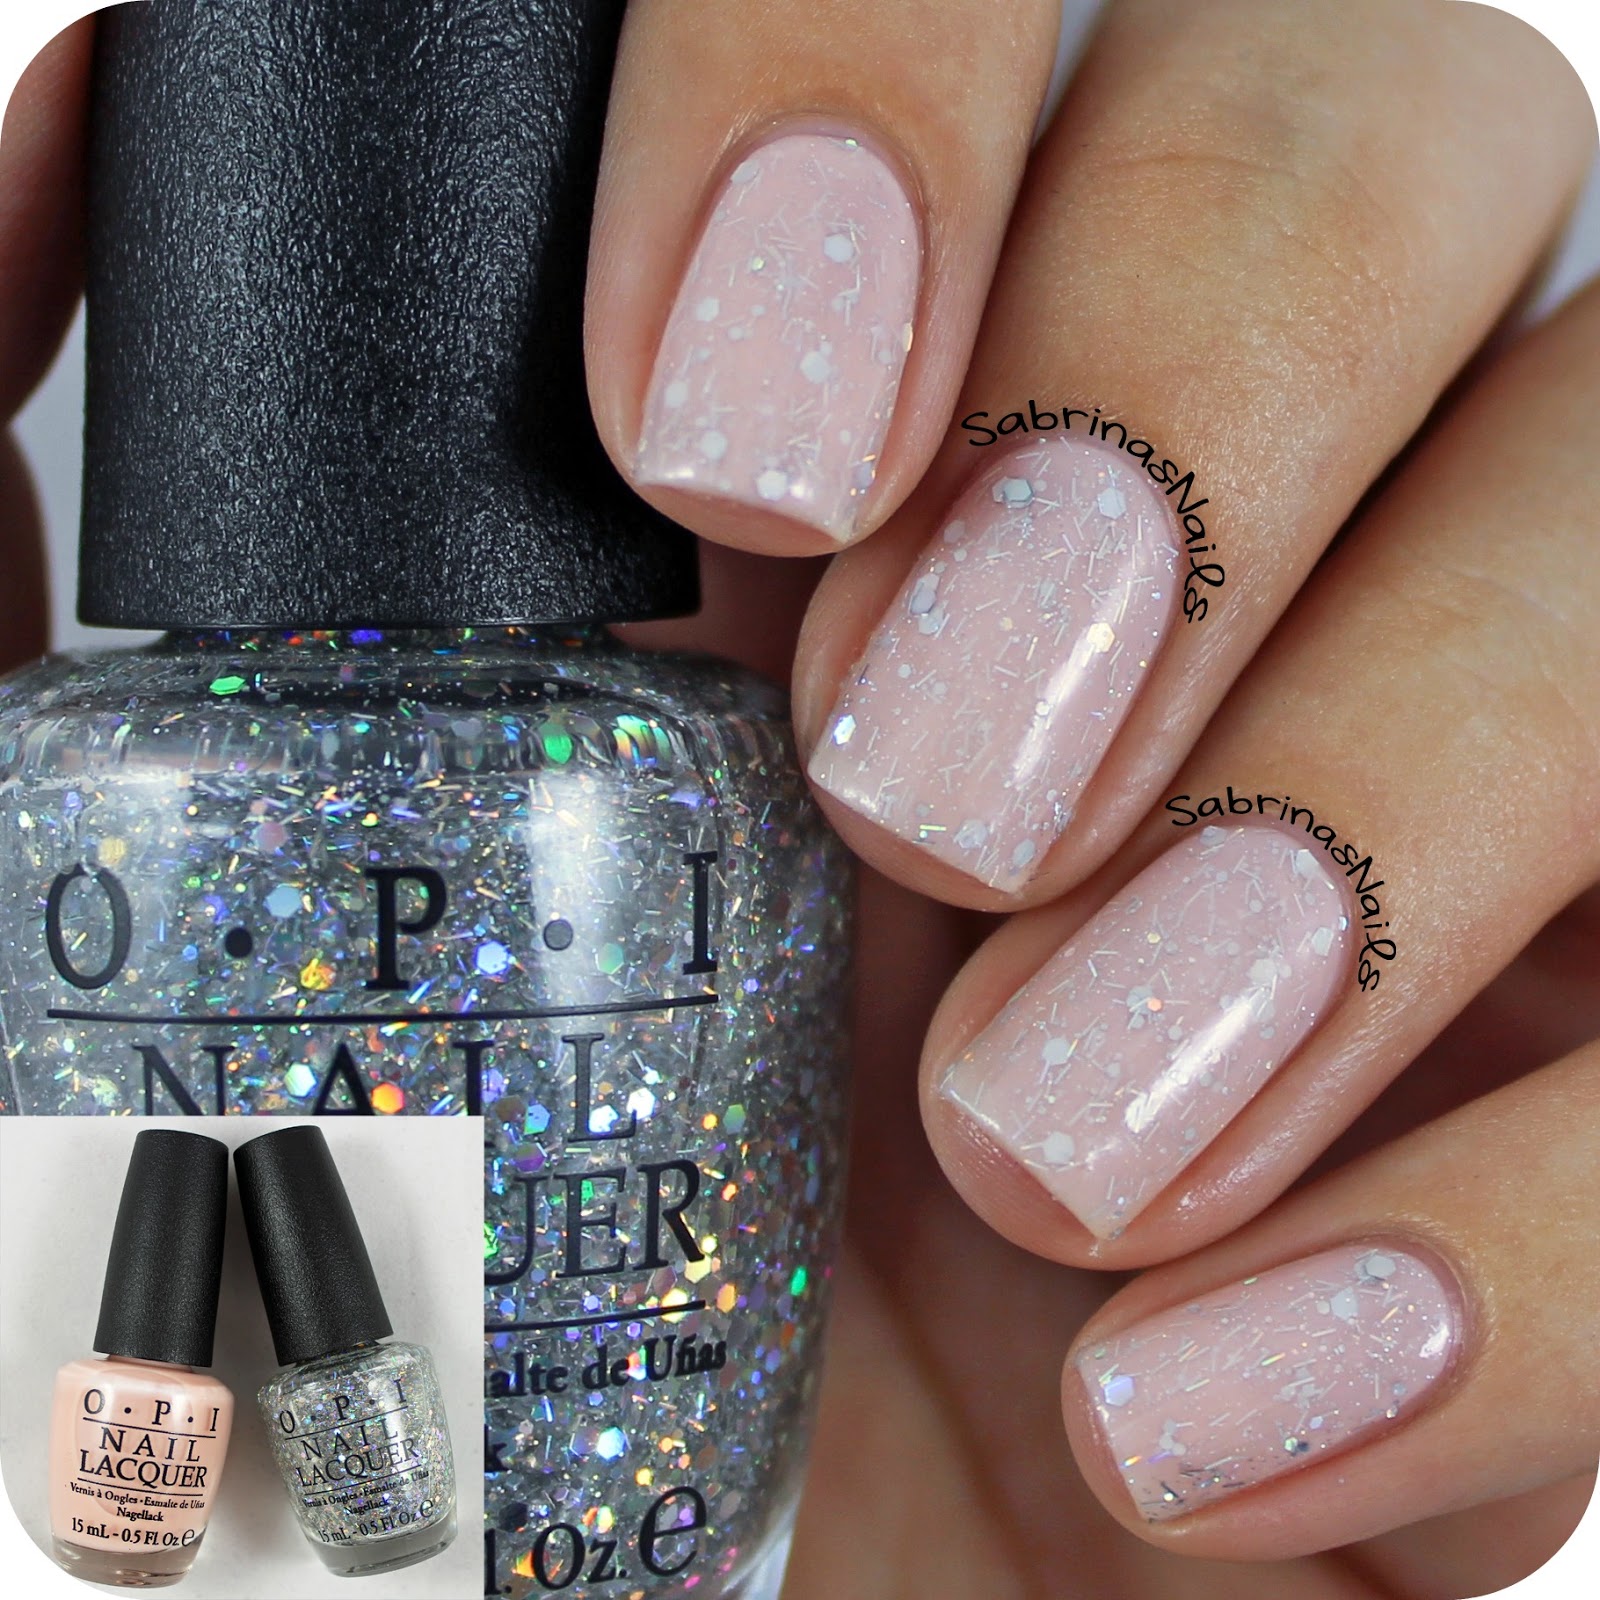
Hey everyone! Today I have a long awaited jelly sandwich mani that I've been wanting to try for the longest time! I've done jelly sandwiches before, but now that I have OPI's Bubble Bath, I've had the urge to try this technique again. Continue reading for sparkly goodness! (WARNING: This will be a picture heavy post!)
Wednesday, January 29, 2014
Polishes I Received this Christmas!
Hey guys! I know Christmas was over a month ago but I never had the chance to show you all what polishes I received this past holiday. I'm so grateful for the friends and family that fed my polish addiction and I'm so excited to share my new pretties with you!
*Disclaimer* I am in no way trying to brag about things that were given to me. I simply want to share them with you and show you my collection as it grows. I love reading about what polishes people bought/ received so I thought this would be a good idea :) I also want to mention that this will be a picture heavy post!
To start, I'll show you polishes from one of my favorite brands, Essie! These polishes were given to me by my aunt, my friend Madi, and my mom!
 |
| From L to R: Off the Shoulder, Shake Your $$ Maker, Sable Collar & Using My Maiden Name |
Tuesday, November 19, 2013
Roses & Glitter Accents
I've recently been inspired by a few pink Essie colors in my collection. After staring at my polishes thinking of what design I could do, I was always drawn back to Muchi, Muchi, Boom Boom Room, and Mod Square, all by Essie! I finally decided on roses, and glitter gradients for my ring fingers.


I first painted my nails with four thin coats of Essie's Muchi, Muchi. This polish is sheer and sometimes hard to work with, but when you start to build a few layers of it, you get a smooth, light pink color! Once that dried, I took a large dotting tool and dipped it into Essie's Boom Boom Room. I placed three large dots toward the cuticle and let them dry. Next, I took Essie's Mod Square and a smaller dotting tool, to create the curved petals on the roses. With a dark green polish and the smallest dotting tool that I own, I made little tear drop shapes in arbitrary areas around the roses to act as leaves! The nail looked empty with just roses on it so at the last minute I took my white striper by Stripe Rite and created vertical lines on my nail. If stripes were to originally be in my design, I would've done them first to avoid accidentally overlapping the roses!
I was really interested to play around with Jetset In My Sunset by Curtsy and Bow. After swatching it on a piece of paper to see how much glitter I could get in one stroke, I realized that the formula on this polish wasn't so great. With one swipe, I got about two pieces of glitter, which is a shame because the gold hex glitters are gorgeous! After experimenting with this polish, I realized that I could create a glitter placement gradient (that's a mouthful) on my ring finger!
I began by dumping some of the polish out on a piece of paper (aka an old magazine I found lying around). With a toothpick, I grabbed each glitter individually and placed them heavily toward the cuticle of my nail. The further down I went, the less glitter I would add, until it looked like a gradient! The clear base in this polish helped the glitter stick to my nail. If you're using completely loose glitter, add a topcoat on your nail (to help the glitter adhere to your nail) and also dip your toothpick in topcoat to make the process of picking up glitter much easier!
I hope you liked this design as much as I did and I hope you try it out for yourself! If you do, use the hashtag #InspiredBySabrinasNails or send me a picture through Kik or Email! Thank you and have a lovely week (:
Sunday, October 20, 2013
Floral + Stripes
Today's blog post is dedicated to a cute floral and striped mani! I found inspiration from a photo I saw on Pinterest and I decided to recreate the roses and ended up with a fun and detailed design!


I started off this mani with Royally Yours by L'oreal on all of my nails except for the ring finger, a light and dusty blue color that was opaque in three coats. On my thumb and pinkie finger I added vertical stripes with a white striper. On the pointer and middle finger I carefully painted white (acrylic paint) and pink (Boom Boom Room by Essie) roses with a thin nail art brush and topped it off with curly green (acrylic paint) stems! Lastly, on my ring finger I started off with a base of gold polish (Golden-I by Sally Hansen) and added two coats of a chunky gold glitter polish (The Golden Age by Sephora by OPI [RIP]). To complete the look, I added one coat of my trusty Seche Vite topcoat! If you like this mani, feel free to tell me in the comments of this post or on Instagram! If you want to try it out for yourself, use the hashtag #InspiredBySabrinasNails or Kik me the photo of your results! See you next time!

Saturday, October 12, 2013
Soothing Dreamcatchers
Not only do dreamcatchers help filter out bad dreams, but they also look really cute on your nails! I've seen dreamcatcher nails everywhere lately and decided to finally hop on the bandwagon! They were much simpler than I thought they would be and they turned out nicely along with a white to lavender ombre on the other nails.


The lavender color I used is Sweet Hook by China Glaze, it's a creamy light purple that is opaque in two coats. I also sponged on white for the ombre with Superstar! by Pure Ice and topped it off with Fairy Dust by China Glaze. To create the dreamcatcher I first used a black striper to create a half circle at the top of my nail and then filled it in with cross hatching. I also added three lines at different lengths to act as the string to hold all of the accessories on the dreamcatcher. Finally, I drew on pink and yellow beads and added brown feathers to complete the look! You can really customize these nails however you want, you change the background color, the amount of feathers and beads, and you can also change the design that goes inside of the half circle! If you try these out, use the hashtag #inspiredbysabrinasnails and tag me in the Instagram photo, or send me the picture through Kik or email! Have a great day!

Wednesday, August 7, 2013
Flashy Lilac
My mind is still spinning from a One Direction concert I attended on Sunday, so I decided to have something simple yet cute on my nails. I recently bought my very first OPI nail polishes and I was very eager to try them for the first time today!


I began with four coats of You're Such A Budapest by OPI. This polish was surprisingly thin which was kind of a bummer, but the formula was very smooth which made up for it. You're Such A Budapest is a soft lilac color that is perfect for the spring and summer time. I would definitely wear this alone but I decided to add a touch of sparkle.
After letting this dry, I added one coat of Which Is Witch by OPI on top. I don't think I've said that I've added only one coat of something in a very long time, it's very refreshing! Which Is Witch is packed with holographic hex and bar glitters. This glitter top coat truly does sparkle like crazy when you're in the sunlight, it's going to bring you much attention!
I hope that you would all know by now that I am an absolute sucker for matte glitter. Not only is it easier to photograph, but it just adds something unexpected to any glitter mani. I finished this off with one coat of OPI's Matte Top Coat. A lot of you have been asking what the best matte top coat is, in my opinion this one by OPI is the best I've tried. It turns your nails matte right before your eyes in about 5 seconds, it's truly amazing! If you're looking for one that's more affordable, I would recommend NYC's Matte Me Crazy. It only costs a single dollar and it achieves similar results.
I hope I feel in the mood to do some nail art this week, I have some new polishes I want to try out! I hope you love this OPI combination, I know I do!
Subscribe to:
Posts (Atom)